Winter turns simple moments into magical memories. Nothing captures this magic like making homemade snow ice cream. Imagine going outside after a snowfall, collecting fresh flakes, and making a tasty winter dessert in just 5 minutes.
Making snow ice cream recipe is more than a recipe. It’s a family tradition that brings people together. With simple ingredients and no special tools, anyone can make this delightful dessert from nature’s snow.
The beauty of snow ice cream is its simplicity. Just 8 cups of snow, some milk, and a few pantry items make a creamy treat. It brings joy to cold winter days.
Key Takeaways
- Snow ice cream requires only 5 minutes of preparation
- Uses basic ingredients found in most kitchens
- Perfect family-friendly winter activity
- Nutritious dessert with approximately 193 calories per serving
- Best enjoyed immediately after preparation
What Is Snow Ice Cream: A Winter Wonderland Treat
Snow ice cream is a magical no-cook treat that turns winter’s cold into a sweet delight. It’s a seasonal dessert that kids and adults love. It makes fresh snow into a tasty treat that celebrates winter’s simple beauty.
Snow cream started in rural areas where people were creative with what they had. Families found a fun way to make a quick dessert from snow. They used just a few ingredients and lots of imagination.
Origins of Snow Cream
Snow ice cream comes from places with lots of snow. Pioneers made it as a clever way to enjoy a sweet treat from nature. Rural areas loved this tasty tradition.
- Developed in snow-rich regions
- Created by resourceful families
- Utilized readily available natural ingredients
Why This Winter Dessert Is Special
Snow ice cream is more than a dessert. It’s a fun way to enjoy winter’s unique qualities. It turns simple snow into a memorable dessert experience.
| Characteristic | Description |
|---|---|
| Preparation Time | 5 minutes |
| Required Ingredients | 5 (milk, sugar, vanilla, salt, snow) |
| Snow Quantity Needed | Approximately 8 cups |
Traditional vs Modern Preparations
Old-fashioned snow cream used simple ingredients like milk and sugar. But today, there are exciting new flavors. Modern recipes add gourmet flavors, different milks, and fun mix-ins. This turns a simple dessert into a fancy treat.
- Traditional: Basic milk, sugar, vanilla
- Modern: Diverse milk alternatives
- Gourmet add-ins like chocolate chips
- Customizable flavor profiles
Essential Ingredients for Perfect Snow Ice Cream
Making a tasty condensed milk snow treat needs the right ingredients. The secret to a fun, egg-free frozen delight is in the ingredients. These help create a winter dessert that brings back childhood memories.
Here are the key ingredients you’ll need for a perfect snow ice cream experience:
- 8 cups of clean, fresh white snow
- 1 cup of dairy option (milk, half and half, or sweetened condensed milk)
- 1/3 cup of sugar (optional if using sweetened condensed milk)
- 1 tablespoon of vanilla extract
- Optional toppings or mix-ins
The quality of your ingredients is key to making the perfect snow ice cream. Fresh, clean snow is absolutely essential. Look for snow that is pure white and untouched. Stay away from snow near roads or with debris.
| Ingredient | Quantity | Purpose |
|---|---|---|
| Fresh Snow | 8 cups | Base for ice cream texture |
| Milk/Condensed Milk | 1 cup | Creamy sweetness |
| Sugar | 1/3 cup | Additional sweetness |
| Vanilla Extract | 1 tablespoon | Flavor enhancement |
Pro tip for parents: Let kids help measure ingredients. It’s fun and teaches them about measurements. Plus, they get to enjoy a yummy winter treat together.
Safety Tips for Collecting Clean Snow
Making a tasty winter wonderland dessert is more than just fun. It’s about keeping your homemade snow cream safe. Not all snow is good for eating, and knowing how to pick the right snow is key.
When you’re making your dessert, picking the right snow is very important. Experts say wait a few hours after it starts snowing. This is because the first snowflakes can pick up more bad stuff from the air.
Best Snow Collection Methods
- Choose areas away from roads, buildings, and animal traffic
- Use a large, clean stainless steel or glass bowl
- Collect snow from open, elevated spaces
- Avoid yellow or discolored snow patches
Identifying Clean Snow Areas
Not all snow is safe for your dessert. Places near cities with bad air are risky. Find clean, untouched snow in rural or park areas where it’s less polluted.
Storage and Handling Guidelines
- Collect snow quickly to keep it fresh
- Move snow right away to a clean, cold spot
- Use it within 30 minutes of getting it
- Keep it cold until you’re ready to make your dessert
Be extra careful if you’re sick, have a weak immune system, are a baby, or are very old. Even healthy adults should be careful. Always choose clean snow and make your dessert fast.
Basic Snow Ice Cream Recipe
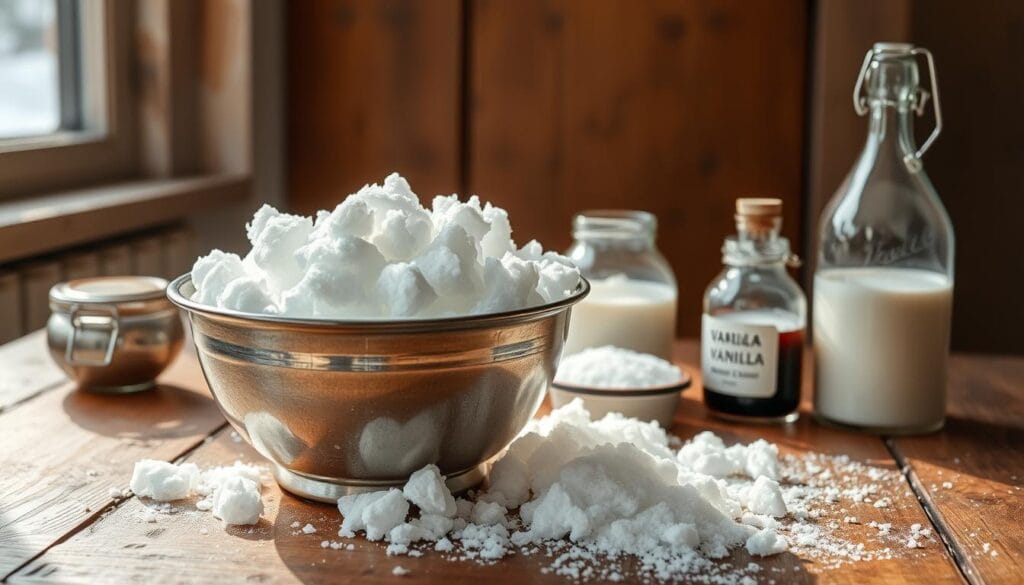
Making snow ice cream is simple and fun. It turns fresh snow into a magical treat in just minutes. You just need clean, fresh snow and your ingredients ready to mix.
This recipe needs only a few ingredients and little time. Here’s what you’ll need:
- 1 cup milk (whole milk recommended)
- 1/3 cup granulated sugar
- 1 teaspoon vanilla extract
- Pinch of fine sea salt
- 8 cups fresh, clean snow
Making this winter dessert is easy. First, mix the milk, sugar, vanilla, and salt in a big bowl. Then, get your fresh snow ready to mix.
Slowly add the snow to your milk mix, stirring until it’s creamy. The snow’s density can change, so add it slowly and mix carefully.
| Ingredient | Quantity | Purpose |
|---|---|---|
| Milk | 1 cup | Base liquid |
| Sugar | 1/3 cup | Sweetness |
| Vanilla Extract | 1 teaspoon | Flavor enhancement |
| Sea Salt | Pinch | Flavor balance |
Pro tip: Enjoy your snow ice cream right away for the best taste and texture. If it gets too soft, freeze it briefly.
This snow ice cream is a fun winter activity. Make it right after you start. Always pick clean, safe snow from a good spot.
Sweetened Condensed Milk Method
Making a tasty condensed milk snow treat is easy with this no-cook ice cream method. Winter turns into a magical time in the kitchen. You can make a delicious dessert from fresh snow.
The sweetened condensed milk method is a quick and tasty way to make snow into a creamy dessert. It’s loved by kids and adults alike.
Simple Step-by-Step Instructions
- Collect 8 cups of clean, fresh snow in a large mixing bowl
- Open a 14 oz can of sweetened condensed milk
- Pour the entire can over the snow
- Gently fold the mixture until smooth and consistent
- Optional: Add 1 teaspoon of vanilla extract for extra flavor
Achieving Perfect Consistency
The secret to great no-cook ice cream is the right amount of snow. Less snow makes it light, more snow makes it firm. Aim for a soft-serve feel by adjusting the snow amount.
Creative Serving Suggestions
- Top with chocolate syrup
- Sprinkle with cocoa powder
- Drizzle caramel sauce
- Add cinnamon or nutmeg
| Nutrition Facts | Per Serving |
|---|---|
| Calories | 321 kcal |
| Total Carbohydrates | 54 g |
| Protein | 8 g |
| Total Fat | 9 g |
This condensed milk snow treat brings winter magic to your kitchen. It’s easy to make and super tasty.
Traditional Milk and Sugar Version
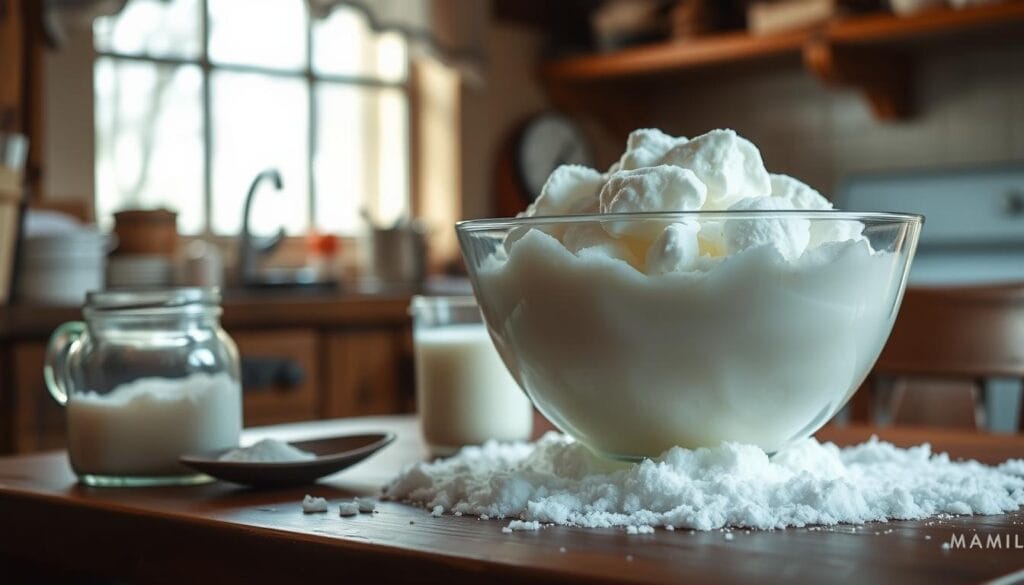
Making homemade snow cream adds winter magic to your kitchen. The traditional method uses simple ingredients found in most homes. It’s a classic way to enjoy this treat.
To make perfect snow cream, you need clean, fresh snow and basic pantry items. This method is easy and fun for those who love winter desserts.
Essential Ingredients
- 6 cups freshly fallen clean snow
- 1 cup cold milk
- 1/3 cup granulated sugar
- 1 teaspoon vanilla extract
- Pinch of salt
Nutritional Highlights
| Nutrient | Amount per Serving |
|---|---|
| Calories | 70 |
| Sugar | 13.2 g |
| Fat | 1.3 g |
| Protein | 1.3 g |
The traditional version gives a pure, nostalgic taste. Adjust sugar quantities to suit personal taste preferences. This way, every batch of snow cream is unique.
When mixing, gently fold the ingredients. This keeps the snow’s texture light. Serve it right away for the best taste and texture.
Creative Flavor Variations and Add-ins
Turn your kid-friendly snowy recipe into a fun adventure with exciting flavors. Snow ice cream is a great winter treat that kids and adults will enjoy. It’s perfect for making your own special winter dessert.
Chocolate and Vanilla Options
Make your snow cream even better with these classic flavors:
- Chocolate Snow Cream: Add 2-3 tablespoons of cocoa powder or chocolate syrup
- Vanilla Bean Delight: Scrape seeds from a vanilla bean pod for intense flavor
- Cinnamon Snow Cream: Sprinkle 1/2 teaspoon of ground cinnamon
Fruit and Nut Combinations
Try fresh and exciting mix-ins for a unique snow cream:
- Strawberry Snow Cream: Blend in 3 tablespoons of strawberry jam
- Peach Paradise: Add 2 tablespoons of peach nectar
- Nutty Crunch: Sprinkle chopped almonds or crushed pecans
Special Toppings Selection
Top your snow cream with these fun toppings:
- Chocolate chips
- Colorful sprinkles
- Crushed cookies
- Caramel or chocolate sauce drizzle
Remember, the secret to amazing snow cream is being creative and trying new things. Every batch is a special winter treat that brings happiness to cold days.
Tips for Perfect Snow Ice Cream Texture
Making the perfect homemade snow cream is all about texture. It’s about finding the right mix of ingredients and techniques. This makes it a delightful winter treat.
The type of snow you use is key to the perfect texture. Here are some tips to help you:
- Snow Quantity: The amount of snow changes the texture
- Less snow makes it lighter and creamier
- More snow makes it firmer and fluffier
- Snow Quality: Use fresh, clean snow from open areas
- Avoid snow near trees or roads
- Collect it right after a big snowfall
- Mixing Technique: Mix gently to avoid making it too dense
Experts say to use about 6-8 cups of fresh snow for a batch. The goal is a smooth, scoopable texture like regular ice cream.
Try different amounts of sweetened condensed milk to snow. A common mix is a 14-ounce can of milk. But you can tweak it to get the texture you like. Remember, the snow’s temperature and type can affect it, so adjust as needed.
Enjoy your snow cream right away for the best taste and texture. This dessert is a true winter wonder, capturing the magic of a snowy day.
Kid-Friendly Snow Cream Activities
Making snow cream is a fun way to make a winter day special. It’s a sweet treat that kids love to make and eat. It’s a great way to spend time together.
Getting kids involved in making snow cream is both fun and educational. They can do different tasks that make the experience fun and memorable:
- Snow Collection: Teach children how to safely gather clean snow using large bowls or clean containers
- Measuring Ingredients: Let kids measure milk, sugar, and vanilla extract
- Mixing: Allow children to stir and blend ingredients carefully
- Decorating: Encourage creativity with fun toppings like sprinkles or chocolate chips
Assign tasks based on the child’s age and ability. Young kids can mix, while older ones can do more. Safety and supervision are always key.
This activity takes about 5 minutes, making it quick and fun. It’s a treat that’s easy to make and creates great memories.
Here are some ingredients kids can handle:
- Fresh, clean snow (8 cups)
- Sweetened condensed milk (10 oz)
- Vanilla extract (1 teaspoon)
- Optional toppings like chocolate syrup or sprinkles
Turning snow cream making into a fun activity is a great way to spend time together. It’s a mix of cooking, learning, and having fun.
Storing and Serving Your Snow Ice Cream
Making a winter wonderland dessert like no-cook ice cream needs careful storage and serving tips. Snow ice cream is a special treat that tastes best when eaten right away.
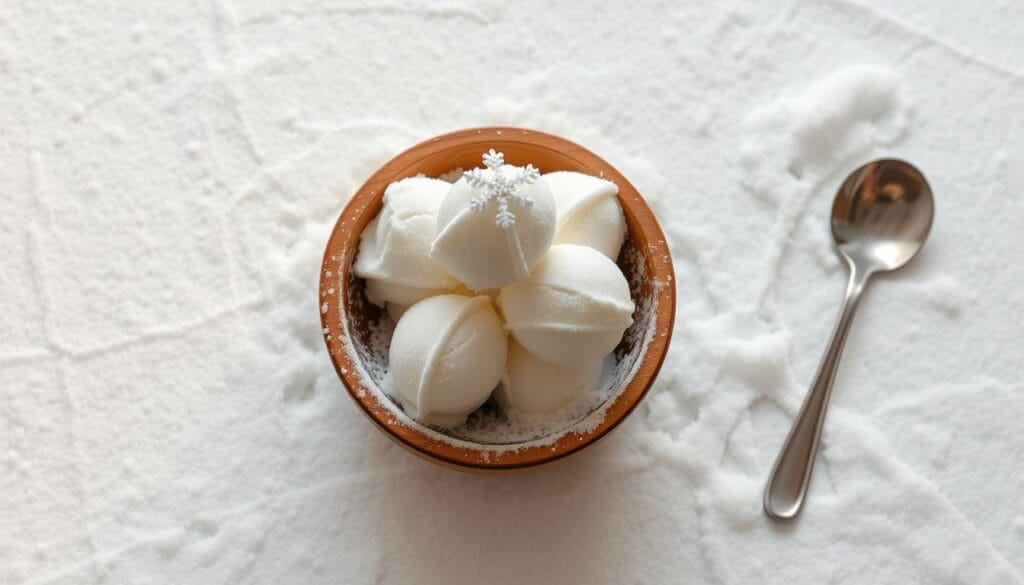
This dessert is very delicate. It’s best to enjoy it fresh for the best taste and texture.
Temperature Considerations
Keeping the right temperature is key for your no-cook ice cream’s quality. Here are some important tips:
- Serve it right away for the best taste
- Keep it cold to preserve its freshness
- Don’t store it for too long to avoid ice crystals
Best Serving Containers
Choosing the right container can make your snow ice cream even better. Here are some good options:
| Container Type | Pros | Best For |
|---|---|---|
| Chilled Glass Bowls | Stays cold longer | Perfect for serving right away |
| Insulated Ceramic Cups | Slows down melting | Great for outdoor events |
| Frozen Metal Dishes | Cools down quickly | Best for big groups |
Pro tip: Chill your serving containers before using. It helps keep your snow ice cream from melting too fast.
Dairy-Free and Vegan Alternatives
Making a dairy-free icy treat is easy. Vegan snow ice cream is a great choice for those with dietary limits. It’s all about picking the right plant-based ingredients for a creamy and tasty treat.
Creating an egg-free frozen delight needs some smart ingredient swaps. Here are some top picks for snow ice cream that’s good for everyone:
- Coconut milk – gives a rich, creamy feel
- Almond milk – is light and refreshing
- Cashew milk – makes it smooth
- Oat milk – adds a natural sweetness
Vegan snow cream is packed with nutrients. A single serving has:
- Calories: 161 kcal
- Protein: 4g
- Carbohydrates: 16g
- Fat: 10g
Brands like So Delicious and Planet Oat have great dairy-free milk options for snow ice cream. Prices are between $6 to $9 per pint. Making it at home is even cheaper.
Pro tip: For extra creaminess, mix in 2 tablespoons of MCT or olive oil. This trick gives it that smooth texture everyone loves.
There are countless flavors for vegan snow cream. Try chocolate, strawberry, banana, or coffee to keep it fun!
Troubleshooting Common Snow Ice Cream Problems
When making homemade snow ice cream, you might face texture and consistency issues. Too much water can lead to large ice crystals, making it icy. But, quick fixes can turn it into a tasty winter treat.
Too sweet? Just add more fresh snow to fix it. If it’s too runny, add more snow or freeze it briefly. These steps can make your snow cream smooth and enjoyable.
Temperature is key for success. Keep the mixture cool and avoid warm temperatures. Use clean snow from the top 2-3 inches and work fast. This way, you can make a delicious dessert that’s as good as store-bought ones.
Texture problems can be fixed by adjusting ingredients. A bit of sweetened condensed milk can make it smoother. Remember, it takes practice to get it just right. So, don’t worry if it’s not perfect the first time.

