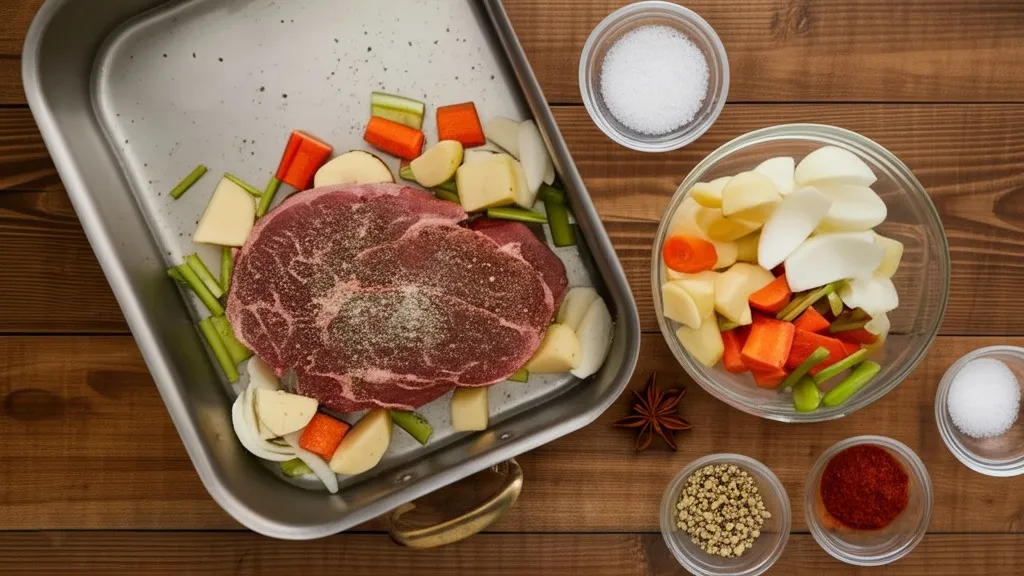
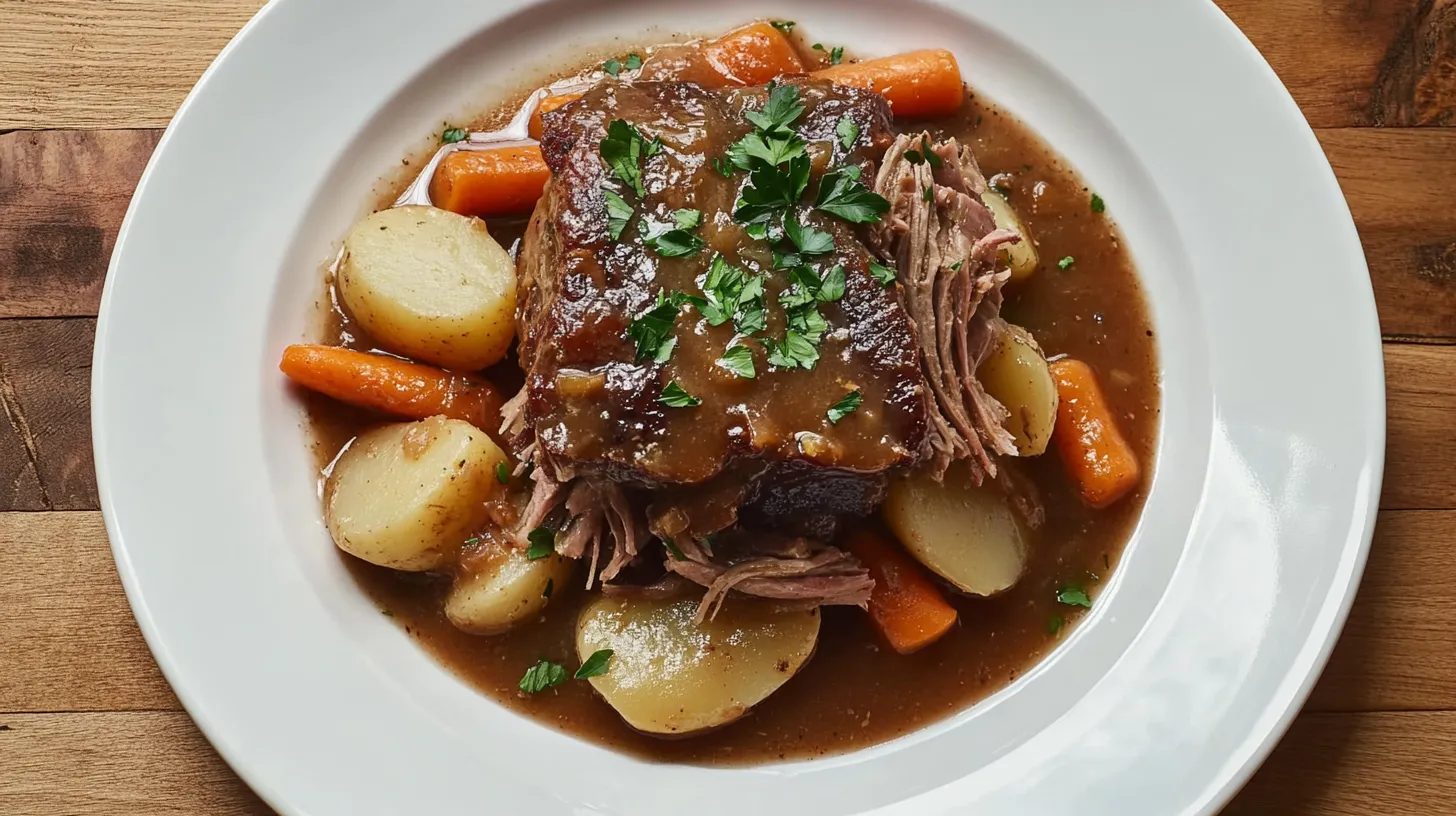
Chuck roast is a flavorful and economical cut of beef, but its tough texture requires careful timing to achieve tender, juicy results. So, how long should Cooking Time for Chuck Roast? The answer depends on your cooking method and the size of the roast.
In this guide, we’ll explore recommended Cooking Time for Chuck Roast for the oven, crockpot, and pressure cooker, along with tips to ensure your chuck roast is cooked to perfection every time. Let’s dive in!
Why Cooking Time for Chuck Roast Matters
Cooking time plays a critical role in transforming a tough cut of chuck roast into a tender, flavorful dish. Understanding why timing is important helps you achieve perfect results every time.
1. The Role of Time in Achieving Tenderness
- Breaking Down Connective Tissue:
- Chuck roast is rich in collagen and connective tissue, which requires slow cooking to break down into gelatin. This process adds moisture and flavor to the meat.
- Enhancing Flavor:
- Longer cooking times allow the roast to absorb the flavors of seasonings, broth, and vegetables, resulting in a more flavorful dish.
2. Factors That Influence Cooking Time
Several factors can affect how long you should cook a chuck roast:
- Cooking Method:
- Oven, crockpot, and pressure cooker methods have different time requirements.
- Roast Size:
- Larger roasts take longer to cook. For example, a 3-pound roast cooks faster than a 5-pound roast.
- Temperature:
- Lower cooking temperatures require longer times but produce more tender results.
Pro Tip: Adjust cooking times based on the size of the roast and your desired level of tenderness.
Recommended Cooking Time for Chuck Roast
The cooking time for a chuck roast varies depending on the method used. Here’s a breakdown of the recommended times for oven cooking, crockpot, and pressure cooking.

1. Oven Cooking: Time and Temperature Guidelines
- Temperature Range:
- Roast the chuck at 300°F-325°F for best results.
- Cooking Times:
- 3-4 Pound Roast: 3-4 hours.
- 5-6 Pound Roast: 4-5 hours.
- How to Tell It’s Done:
- The internal temperature should reach 190°F-200°F for fork-tender meat.
- Check the roast every hour after the halfway point to avoid overcooking.
Pro Tip: Cover the roast with foil for the first half of cooking, then uncover to develop a caramelized crust.
2. Crockpot Cooking: Low vs. High Settings
- Low Setting:
- Cooking Time: 8-10 hours.
- Best for maximum tenderness and flavor absorption.
- High Setting:
- Cooking Time: 4-6 hours.
- Ideal for quicker meals, though the roast may be slightly less tender compared to the low setting.
- Liquid Levels:
- Ensure the liquid covers one-third to half of the roast to prevent drying out.
Pro Tip: Avoid lifting the lid during cooking, as this can increase the cooking time by 20-30 minutes each time the lid is opened.
3. Pressure Cooking Time for Chuck Roast: Fast and Efficient
- Cooking Time:
- A 3-4 pound roast cooks in 60-90 minutes under high pressure.
- Preparation Tips:
- Sear the roast first using the sauté function for added flavor.
- Add at least 1-2 cups of liquid (broth or water) to create steam for cooking.
- Natural Release:
- Allow the pressure to release naturally for 10-15 minutes after cooking to retain moisture.
Pro Tip: Use a meat thermometer to ensure the internal temperature reaches 190°F-200°F for shredding or tender results.
General Rule of Cooking Time for Chuck Roast
For every pound of chuck roast, plan for:
- 1-1.5 hours in the oven.
- 2-3 hours on high or 4-5 hours on low in a crockpot.
- 15-20 minutes in a pressure cooker.
How to Tell When a Chuck Roast is Done
Knowing when your chuck roast is perfectly cooked ensures you achieve the tender, flavorful results you’re aiming for. Here’s how to tell when it’s ready.
1. Using a Meat Thermometer
- Target Internal Temperature:
- 145°F: Medium-rare (less common for chuck roast).
- 190°F-200°F: Perfect for fork-tender, fall-apart meat.
- How to Check:
- Insert a meat thermometer into the thickest part of the roast, avoiding bones or fat pockets.
- Ensure the thermometer registers the desired temperature before removing the roast from heat.
Pro Tip: Use a digital thermometer for accurate and quick readings.
2. Visual and Textural Clues
- Fork Test:
- Insert a fork into the meat and twist gently. If the roast pulls apart easily, it’s ready.
- Juices:
- Properly cooked chuck roast releases clear juices when pierced.
- Color:
- The interior should be uniformly cooked with no visible raw or overly dry sections.
3. Timing and Resting
- Timing Guidelines:
- Follow recommended cooking times for your chosen method but use the fork test or thermometer to confirm doneness.
- Resting:
- Let the roast rest for 15-20 minutes after cooking. This allows the juices to redistribute, keeping the meat moist and flavorful.
Pro Tip: Tent the roast with foil during resting to retain heat without overcooking.
Tips for Perfectly Cooked Chuck Roast
To ensure your chuck roast is tender, flavorful, and cooked to perfection, follow these expert tips.

1. Adjusting Time for Roast Size
- Smaller Roasts:
- Reduce cooking time for 2-3 pound roasts by approximately 30 minutes in the oven or 1-2 hours in the crockpot.
- Larger Roasts:
- Add 30-60 minutes for roasts over 5 pounds to ensure even cooking.
Pro Tip: For very large roasts, consider cutting them into smaller pieces to reduce cooking time and ensure even tenderness.
2. Monitoring Liquid Levels
- Why It Matters:
- Liquid prevents the roast from drying out and helps create a rich, flavorful base for sauces or gravies.
- How to Check:
- In the crockpot: Ensure the liquid covers one-third to half of the roast.
- In the oven: Add 1-2 cups of liquid to the roasting pan and replenish as needed during cooking.
Pro Tip: Use broth, wine, or a mix of liquids to add depth to the roast’s flavor.
3. Resting the Meat
- Why Resting is Important:
- Resting allows the juices to redistribute throughout the roast, preventing them from spilling out when sliced.
- How to Rest:
- Remove the roast from heat and tent it loosely with foil. Let it rest for 15-20 minutes before slicing.
Pro Tip: Slice the roast against the grain to shorten the muscle fibers and make the meat more tender.
4. Enhancing Flavor with Aromatics
- Add Vegetables:
- Include carrots, onions, garlic, and celery around the roast to infuse additional flavor.
- Use Fresh Herbs:
- Add sprigs of rosemary, thyme, or bay leaves to elevate the dish’s aroma and taste.
FAQs About Cooking Time for Chuck Roast
Here are answers to some of the most common questions about timing and cooking chuck roast to help you achieve perfect results.
1. What Happens if I Overcook a Chuck Roast?
- Texture Issues:
- Overcooking can cause the meat to become dry and lose its tenderness, even if cooked with liquid.
- How to Fix It:
- Shred the roast and mix it with a sauce or gravy to reintroduce moisture.
- Use overcooked chuck roast in soups or stews where the liquid can soften the texture.
2. Can I Cook Chuck Roast at 400°F?
It’s possible but not recommended for most recipes.
- Why Lower Temperatures Are Better:
- Cooking at 400°F can dry out the roast and prevent the connective tissue from breaking down properly.
- Alternative:
- Stick to 300°F-325°F for tender, flavorful results.
3. How Do I Avoid Undercooking?
- Use a Thermometer:
- Ensure the roast reaches an internal temperature of 190°F-200°F for fork-tender meat.
- Check Visual Clues:
- If the roast is difficult to pull apart with a fork or feels tough, it needs more cooking time.
Pro Tip: When in doubt, let the roast cook longer, especially in a crockpot or oven with sufficient liquid.
4. Can I Cook a Chuck Roast Overnight?
Yes, the crockpot is perfect for overnight cooking.
- How to Do It:
- Set the crockpot to low, add liquid, and cook for 8-10 hours. By morning, you’ll have tender, ready-to-serve meat.
Pro Tip: Add fresh vegetables in the morning and cook on high for an additional hour for a complete meal.
Conclusion: How Long Should You Cooking Time for Chuck Roast?
Cooking a chuck roast to perfection requires the right balance of time, temperature, and technique. Whether you’re using the oven, crockpot, or pressure cooker, understanding how long to cook your roast ensures tender, flavorful results every time.
Key Takeaways
- In the Oven: Cook for 3-4 hours at 300°F-325°F for a 3-4 pound roast.
- In the Crockpot: Use the low setting for 8-10 hours or high for 4-6 hours.
- In a Pressure Cooker: Cook under high pressure for 60-90 minutes, depending on the roast size.
For more inspiration, explore our Roast Beef Recipes Guide or check out Easy Dinner Recipes for Two for quick and creative ideas.


